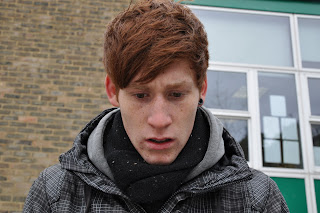
we did a paper storyboard, where we drew each shot, but then we also took pictures of how each shot would be framed and roughly what it would look like. this will help us know exactly what we are looking for when we begin to film it.
the paper version starts with a long shot of the woods, from the boys perspective lying down on his tummy, so this would be a point of view shot. there would then be a close up of the locket, which is central, and filmed from a high angle. The boy then gets up, and is filmed from the side at a long shot distance, he is offcentre to the left. there is then a point of view shot CU of the locket, and then a reverse shot, from the lockets point of view, of the boys reaction, there is then a long shot of the boy falling down, from a low angle, and a zoom back to the locket lying on the floor, which is central CU. we have written notes on the bottom of the stroyboard to explain what is happening and guide us.
this is the real life version of our storyboard, taken with an SLR camera. the idea for the first shots is that the boy will be blinking awake so the first frames will be out of focus, then slwoly come into focus as he blinks.
these shots show a zoom from a mid shot of the boy looking at the locket, to a CU of his face, to highlight his reaction.
this shot is an alternative ending to the previous one, we are uncertain whether we want to end it with a close up of the locket, or a few long shots of the character running through the tree's.


No comments:
Post a Comment